
Reduce Change Detection Cycles with Event Coalescing in Angular

In this article, I want to talk about a new feature introduced in the latest Angular release (v9) — ngZoneEventCoalescing. First, we need to understand the problem it is meant to solve. Let’s say we have the following component’s template:
@Component({
    template: `
      <div (click)="parent()">
        <button (click)="child()">Submit</button>
      </div>
    `,
    changeDetection: ChangeDetectionStrategy.OnPush
  })
  export class MyComponent {
    parent() {
      console.log('parent');
    }
  
    child() {
      console.log('child');
    }
  }

When we click on the button element, it first runs the handlers on it, then on its parent, then it continues upwards through the DOM tree. This is what’s known as event bubbling. (🦊)
As you probably know, Angular uses ZoneJS to intercept events that occurred in the application and run a change detection cycle automatically. If you want to know how it works under the hood, check out my previous articles.
Returning to our code snippet, when we click on the button, we also invoke the parent element’s handler, causing two change detection cycles to run. Let’s see this in action:
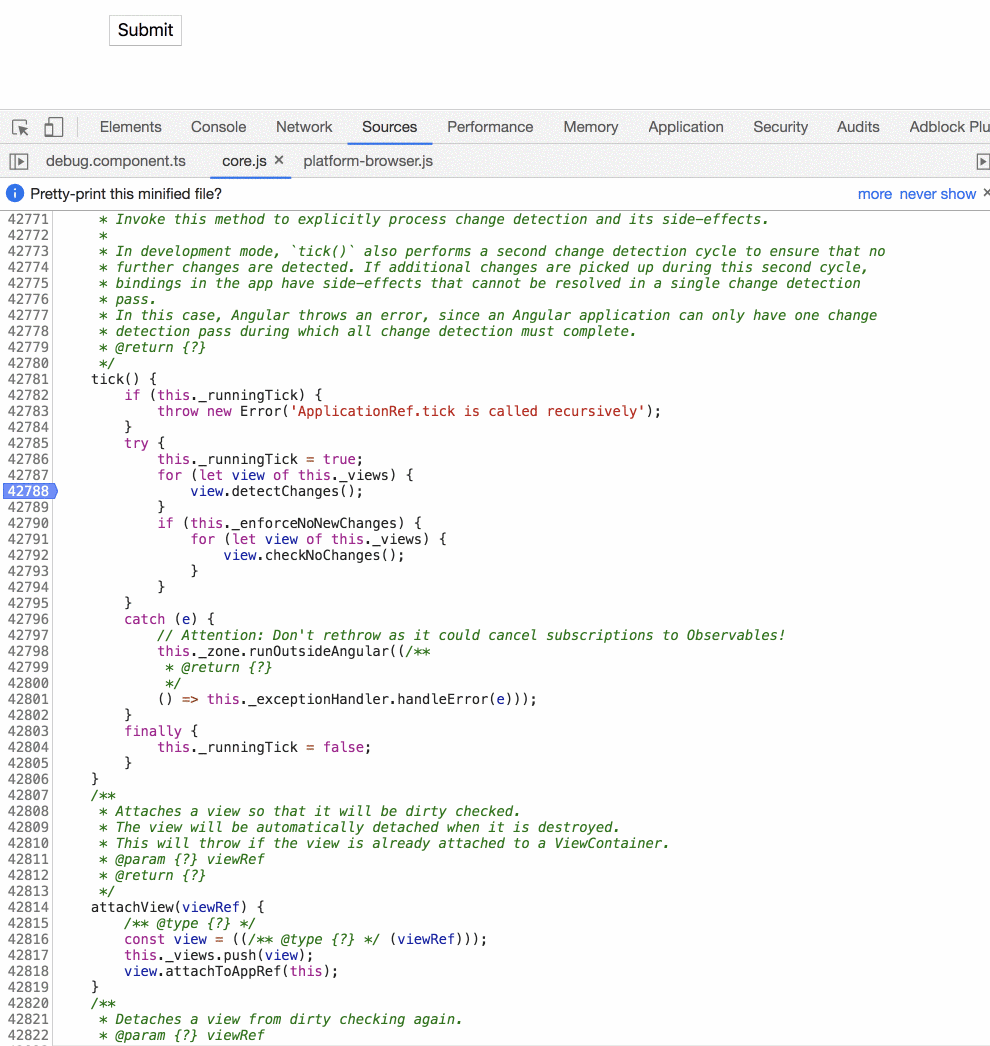
As we can see, Angular calls the tick method twice, one for each event handler.
Starting from Angular v9, we have the option to instruct Angular to coalesce these events. We do this by setting the new ngZoneEventCoalescing property to true in the bootstrapModule method:
platformBrowserDynamic()
  .bootstrapModule(AppModule, { ngZoneEventCoalescing: true })
  .catch(err => console.error(err));
Now if we run the same process, we can see that Angular runs only a single change detection cycle:

If we take a look at the source code, we’ll see that it works by employing a simple check of whether we want to coalesce the events:
const delayChangeDetectionForEventsDelegate = 
      () => delayChangeDetectionForEvents(zone)

const maybeDelayChangeDetection = !!zone.shouldCoalesceEventChangeDetection &&
      zone.nativeRequestAnimationFrame && delayChangeDetectionForEventsDelegate;

onInvokeTask: (..) => {
  try {
    onEnter(zone);
    return delegate.invokeTask(targettaskapplyThisapplyArgs);
  } finally {
    if (maybeDelayChangeDetection && task.type === 'eventTask') { <=======
      maybeDelayChangeDetection();
    }
    onLeave(zone);
  }
},

sds

Comments

Popular posts from this blog

How to use Ngx-Charts in Angular ?

Charts helps us to visualize large amount of data in an easy to understand and interactive way. This helps businesses to grow more by taking important decisions from the data. For example, e-commerce can have charts or reports for product sales, with various categories like product type, year, etc. In angular, we have various charting libraries to create charts.  Ngx-charts  is one of them. Check out the list of  best angular chart libraries .  In this article, we will see data visualization with ngx-charts and how to use ngx-charts in angular application ? We will see, How to install ngx-charts in angular ? Create a vertical bar chart Create a pie chart, advanced pie chart and pie chart grid Introduction ngx-charts  is an open-source and declarative charting framework for angular2+. It is maintained by  Swimlane . It is using Angular to render and animate the SVG elements with all of its binding and speed goodness and uses d3 for the excellent math functio...

JavaScript new features in ES2019(ES10)

The 2019 edition of the ECMAScript specification has many new features. Among them, I will summarize the ones that seem most useful to me. First, you can run these examples in  node.js ≥12 . To Install Node.js 12 on Ubuntu-Debian-Mint you can do the following: $sudo apt update $sudo apt -y upgrade $sudo apt update $sudo apt -y install curl dirmngr apt-transport-https lsb-release ca-certificates $curl -sL https://deb.nodesource.com/setup_12.x | sudo -E bash - $sudo apt -y install nodejs Or, in  Chrome Version ≥72,  you can try those features in the developer console(Alt +j). Array.prototype.flat && Array.prototype. flatMap The  flat()  method creates a new array with all sub-array elements concatenated into it recursively up to the specified depth. let array1 = ['a','b', [1, 2, 3]]; let array2 = array1.flat(); //['a', 'b', 1, 2, 3] We should also note that the method excludes gaps or empty elements in the array: let array1 ...

Understand Angular’s forRoot and forChild

  forRoot   /   forChild   is a pattern for singleton services that most of us know from routing. Routing is actually the main use case for it and as it is not commonly used outside of it, I wouldn’t be surprised if most Angular developers haven’t given it a second thought. However, as the official Angular documentation puts it: “Understanding how  forRoot()  works to make sure a service is a singleton will inform your development at a deeper level.” So let’s go. Providers & Injectors Angular comes with a dependency injection (DI) mechanism. When a component depends on a service, you don’t manually create an instance of the service. You  inject  the service and the dependency injection system takes care of providing an instance. import { Component, OnInit } from '@angular/core'; import { TestService } from 'src/app/services/test.service'; @Component({ selector: 'app-test', templateUrl: './test.component.html', styleUrls: ['./test.compon...