Publish same Docker image with Angular application to any environments
In this story I would share how to deliver same docker image with angular application inside to any environments.
First of all, we have to create a new application or get an existing one.
By default angular use environment.ts to store configurations for different environment, such as url of backend api. But if we use this approach we have to do different build for each environment (like testing, staging, prod, etc). To avoid multiple build we can use the approach explained in this article.
STEP 1 — Environment variables
As mention before, we can’t use environment.ts to store different values per environments, so let’s create a new file under assets folder called config.json (you can call it whatever you want, but must be a json):
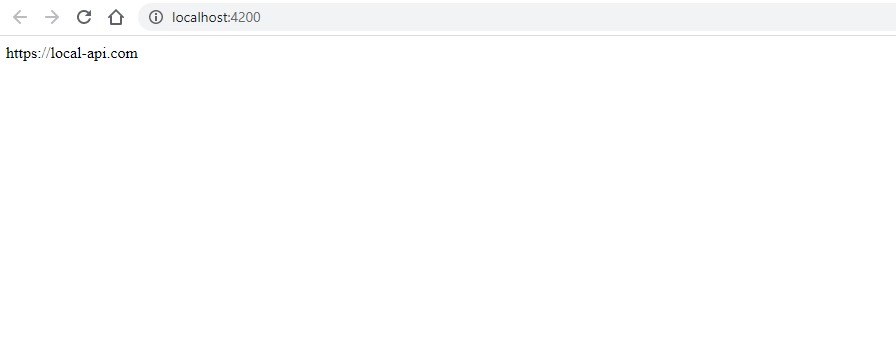
{
  "api": "https://local-api.com"
}
Then angular have to get this configuration, to do that I used ReplaySubject in a service. So create new service called config.service.ts and a new model for config property:
export interface ConfigModel {
  api: string;
}
import { Injectable } from '@angular/core';
import { HttpClient } from '@angular/common/http';
import { ReplaySubject } from 'rxjs';
import { map } from 'rxjs/operators';
import { ConfigModel } from 'src/models/config.model';

@Injectable({
  providedIn: 'root',
})
export class ConfigService {
  private configSubject$ = new ReplaySubject<ConfigModel>(1);
  config$ = this.configSubject$.asObservable();
  configSnapshot: ConfigModel;

  constructor(public http: HttpClient) {}

  loadConfig() {
    return this.http.get<ConfigModel>('./assets/config.json').pipe(
      map((config) => {
        this.configSnapshot = config;
        this.configSubject$.next(config);
      })
    );
  }
}
Now let’s call the loadConfig() method on app component and show the model on view:
<ng-container *ngIf="config$ | async as config">
  {{ config.api }}
</ng-container>
import { Component } from '@angular/core';
import { ConfigService } from 'src/services/config.service';

@Component({
  selector: 'app-root',
  templateUrl: './app.component.html',
  styleUrls: ['./app.component.scss'],
})
export class AppComponent {
  config$ = this.configService.config$;

  constructor(private configService: ConfigService) {
    configService.loadConfig().subscribe();
  }
  title = 'angular-docker';
}
Now if we run the application we will see the api url on page:
app component
STEP 2 — Create multiple configurations
Now we have to create multiple configurations, one for each environment that you want to manage. For example I created under assets a folder named _environments:
config.json files must have the proper configuration of corresponding environment.
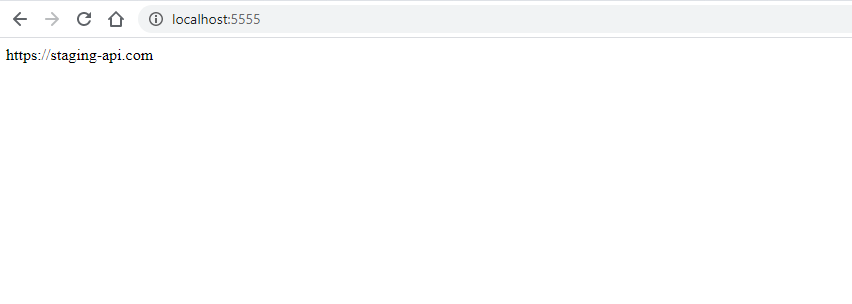
Example for Staging:
{ "api": "https://staging-api.com" }
Example for Production:
{ "api": "https://production-api.com" }
STEP 3 — Dockerfile
First of all we have to create a new bash file that replace the config file under assets with proper one, based on environment variable (called ENVIRONMENT).
If you are running on windows machine, pay attention of format of file on bottom right of vscode editor:
After that, we can create new Dockerfile file on the root as follow:
### STAGE 1: Build ### FROM node:lts-stretch-slim as builder COPY package.json package-lock.json ./## Storing node modules on a separate layer will prevent unnecessary npm installs at each build RUN npm ci && mkdir /app && cp -R ./node_modules ./app WORKDIR /app COPY . .## Build the angular app in production mode and store the artifacts in dist folder RUN $(npm bin)/ng build --prod### STAGE 2: Setup ### FROM nginx:stable## Copy our default nginx config COPY nginx.conf /etc/nginx/conf.d/default.conf## Remove default nginx website RUN rm -rf /usr/share/nginx/html/*## From 'builder' stage copy over the artifacts in dist folder to default nginx public folder COPY --from=builder /app/dist/angular-docker /usr/share/nginx/htmlCOPY ["entrypoint.sh", "/entrypoint.sh"] CMD ["sh", "/entrypoint.sh"]
Let me explain that lines:
STAGE 1: get image of node and name it as builder;
Copy package.json package-lock.json on the root of docker image;
Run npm ci to install dependencies using package-lock.json file;
Copy all source files to app folder inside docker;
Run angular command to build the application in production mode;
STAGE 2: get image from dockerhub nginx:stable;
Copy nginx configuration in default configuration inside nginx server folder;
Copy from previous image (alias builder) the compiled files and put it in root folder of nginx server;
Copy entrypoint.sh to root folder inside docker;
Tell docker to run entrypoint.sh during startup.
STEP 4 — Build the image
In terminal run this command:
docker build -t angular-docker .
to build the image and name it as angular-docker.
Finally, you can run this command to test the application:
docker run -e ENVIRONMENT=Staging -p 5555:80 -it angular-docker:latest
docker run -e ENVIRONMENT=Production -p 5556:80 -it angular-docker:latest
you will see correct result:
So now you are able to deploy your docker image in any environment, you just have to set the environment variable ENVIRONMENT and the docker image take care of replacing the proper file of configuration.
Introduction Let’s Encrypt is a Certificate Authority (CA) that provides an easy way to obtain and install free TLS/SSL certificates , thereby enabling encrypted HTTPS on web servers. It simplifies the process by providing a software client, Certbot, that attempts to automate most (if not all) of the required steps. Currently, the entire process of obtaining and installing a certificate is fully automated on both Apache and Nginx. In this tutorial, you will use Certbot to obtain a free SSL certificate for Apache on Ubuntu 18.04 and set up your certificate to renew automatically. This tutorial will use a separate Apache virtual host file instead of the default configuration file. We recommend creating new Apache virtual host files for each domain because it helps to avoid common mistakes and maintains the default files as a fallback configuration. Prerequisites To follow this tutorial, you will need: One Ubuntu 18.04 server set up by following this initial ...
1. Local Storage Events You might have already used LocalStorage, which is accessible across Tabs within the same application origin. But do you know that it also supports events? You can use this feature to communicate across Browser Tabs, where other Tabs will receive the event once the storage is updated. For example, let’s say in one Tab, we execute the following JavaScript code. window.localStorage.setItem("loggedIn", "true"); The other Tabs which listen to the event will receive it, as shown below. window.addEventListener('storage', (event) => { if (event.storageArea != localStorage) return; if (event.key === 'loggedIn') { // Do something with event.newValue } }); 2. Broadcast Channel API The Broadcast Channel API allows communication between Tabs, Windows, Frames, Iframes, and Web Workers . One Tab can create and post to a channel as follows. const channel = new BroadcastChannel('app-data'); channel.postMessage(data); And oth...
Introduction Streams are one of the major features that most Node.js applications rely on, especially when handling HTTP requests, reading/writing files, and making socket communications. Streams are very predictable since we can always expect data, error, and end events when using streams. This article will teach Node developers how to use streams to efficiently handle large amounts of data. This is a typical real-world challenge faced by Node developers when they have to deal with a large data source, and it may not be feasible to process this data all at once. This article will cover the following topics: Types of streams When to adopt Node.js streams Batching Composing streams in Node.js Transforming data with transform streams Piping streams Error handling Node.js streams Types of streams The following are four main types of streams in Node.js: Readable streams: The readable stream is responsible for reading data from a source file Writable streams: The writable stream is re...


Comments
Post a Comment