In order to make our graphQL api available to the public, we’ll need to deploy it on a production server. I chose Heroku for it’s simplicity.
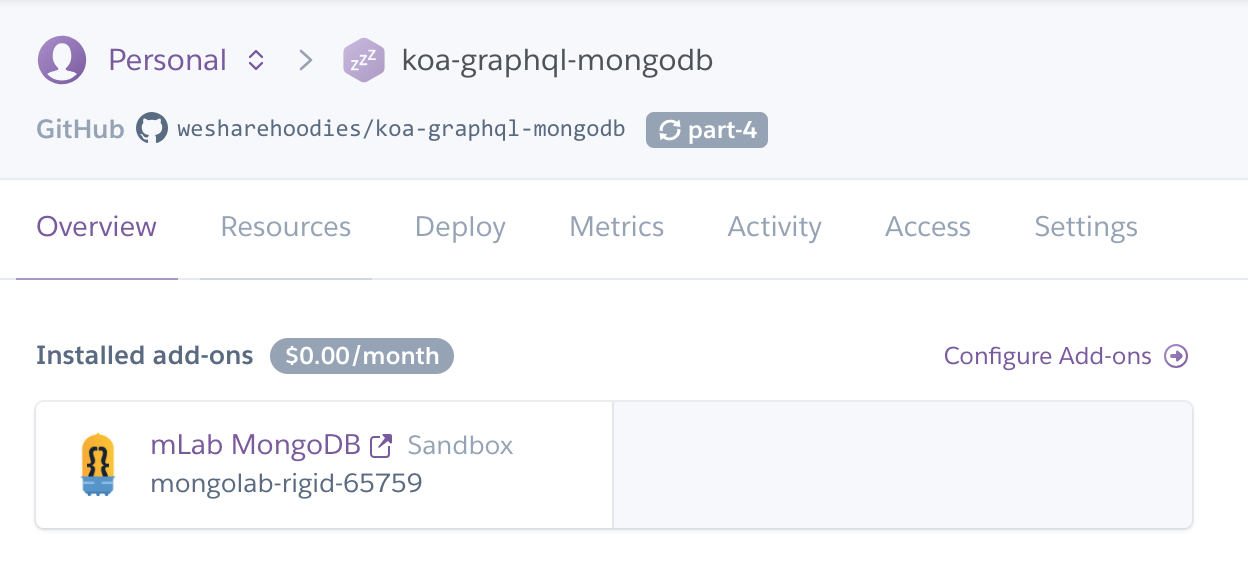
Head over to Heroku, create a user if you haven’t, and create a new project. We don’t have to pay anything for our demo.

Head over to the deploy tab and sync the Heroku with Github. Easiest way is to deploy via our Github repository.

And finally, add the mlab Heroku add-on.
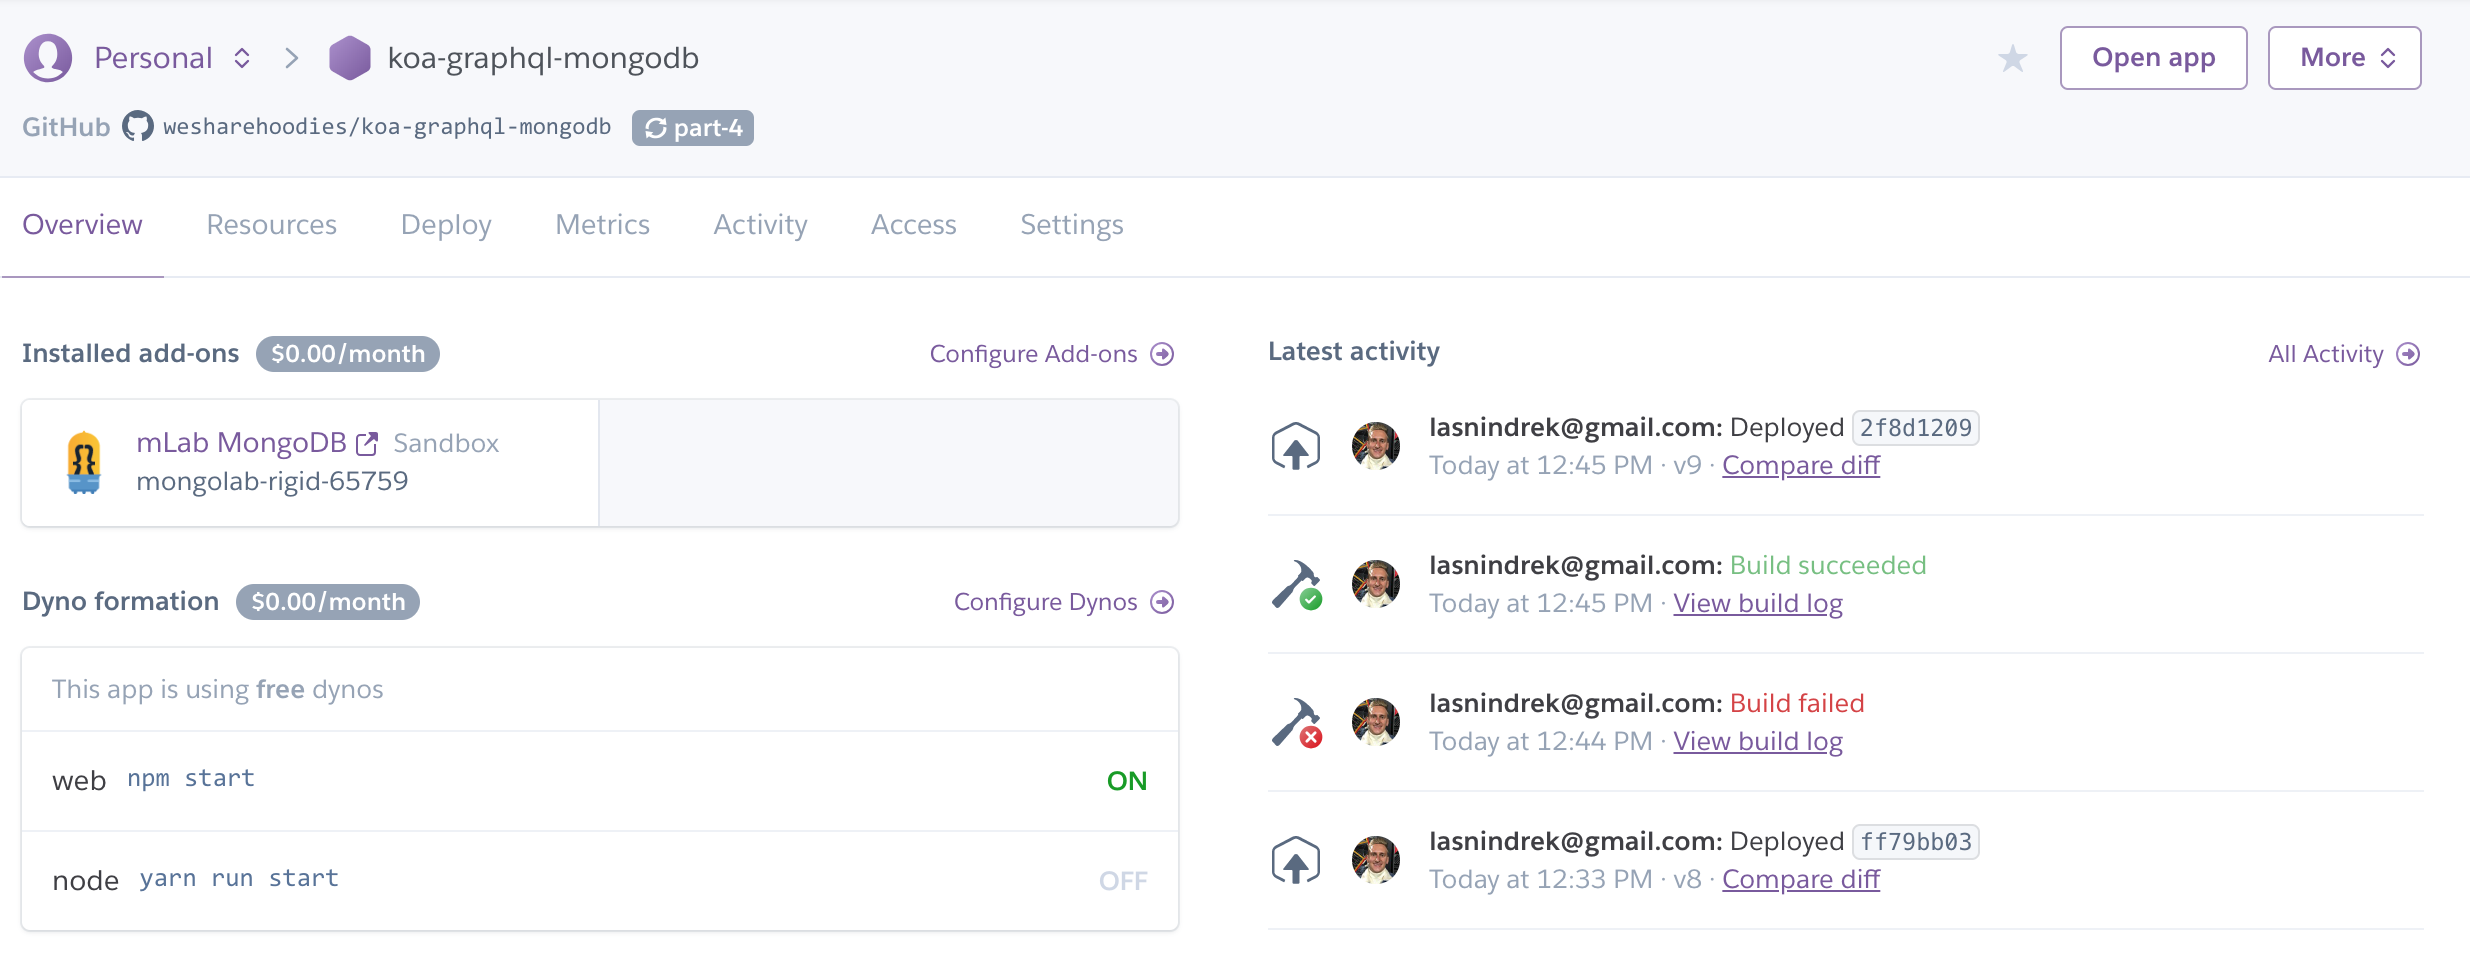
Heroku Dashboard
pm2 set-up
Next, let’s get our pm2 ready for production. Since Heroku runs our scripts , we’ll need to add pm2 to our package.json.
yarn add pm2
Next, we’ll generate the file for pm2 ecosystem.
pm2 init
And the contents of the ecosystem.config.js file will be;
module.exports = {
  apps : [{
    name: 'koa-graphql-mongodb',
    script: 'server.js',
    instances: 1,
    autorestart: true,
    watch: false,
    max_memory_restart: '1G',
    env: {
      NODE_ENV: 'development'
    },
    env_production: {
      NODE_ENV: 'production'
    }
  }],
};
Inside the ecosystem.config.js we can specify all kinds of environment related variables, such as how many instances do we want to run, which script to run, etc.
Learn more about ecosystem file here.
Before pushing our changes to the repository, there’s a small change we need to do with our Koa server.
server.js
app.listen(process.env.PORT || 9000);
This guarantees Heroku gets to pick the port they wish.
Publishing the app
Head over to the deploy tab on Heroku, scroll to bottom, pick the branch you wish to deploy, and press the deploy branch button.
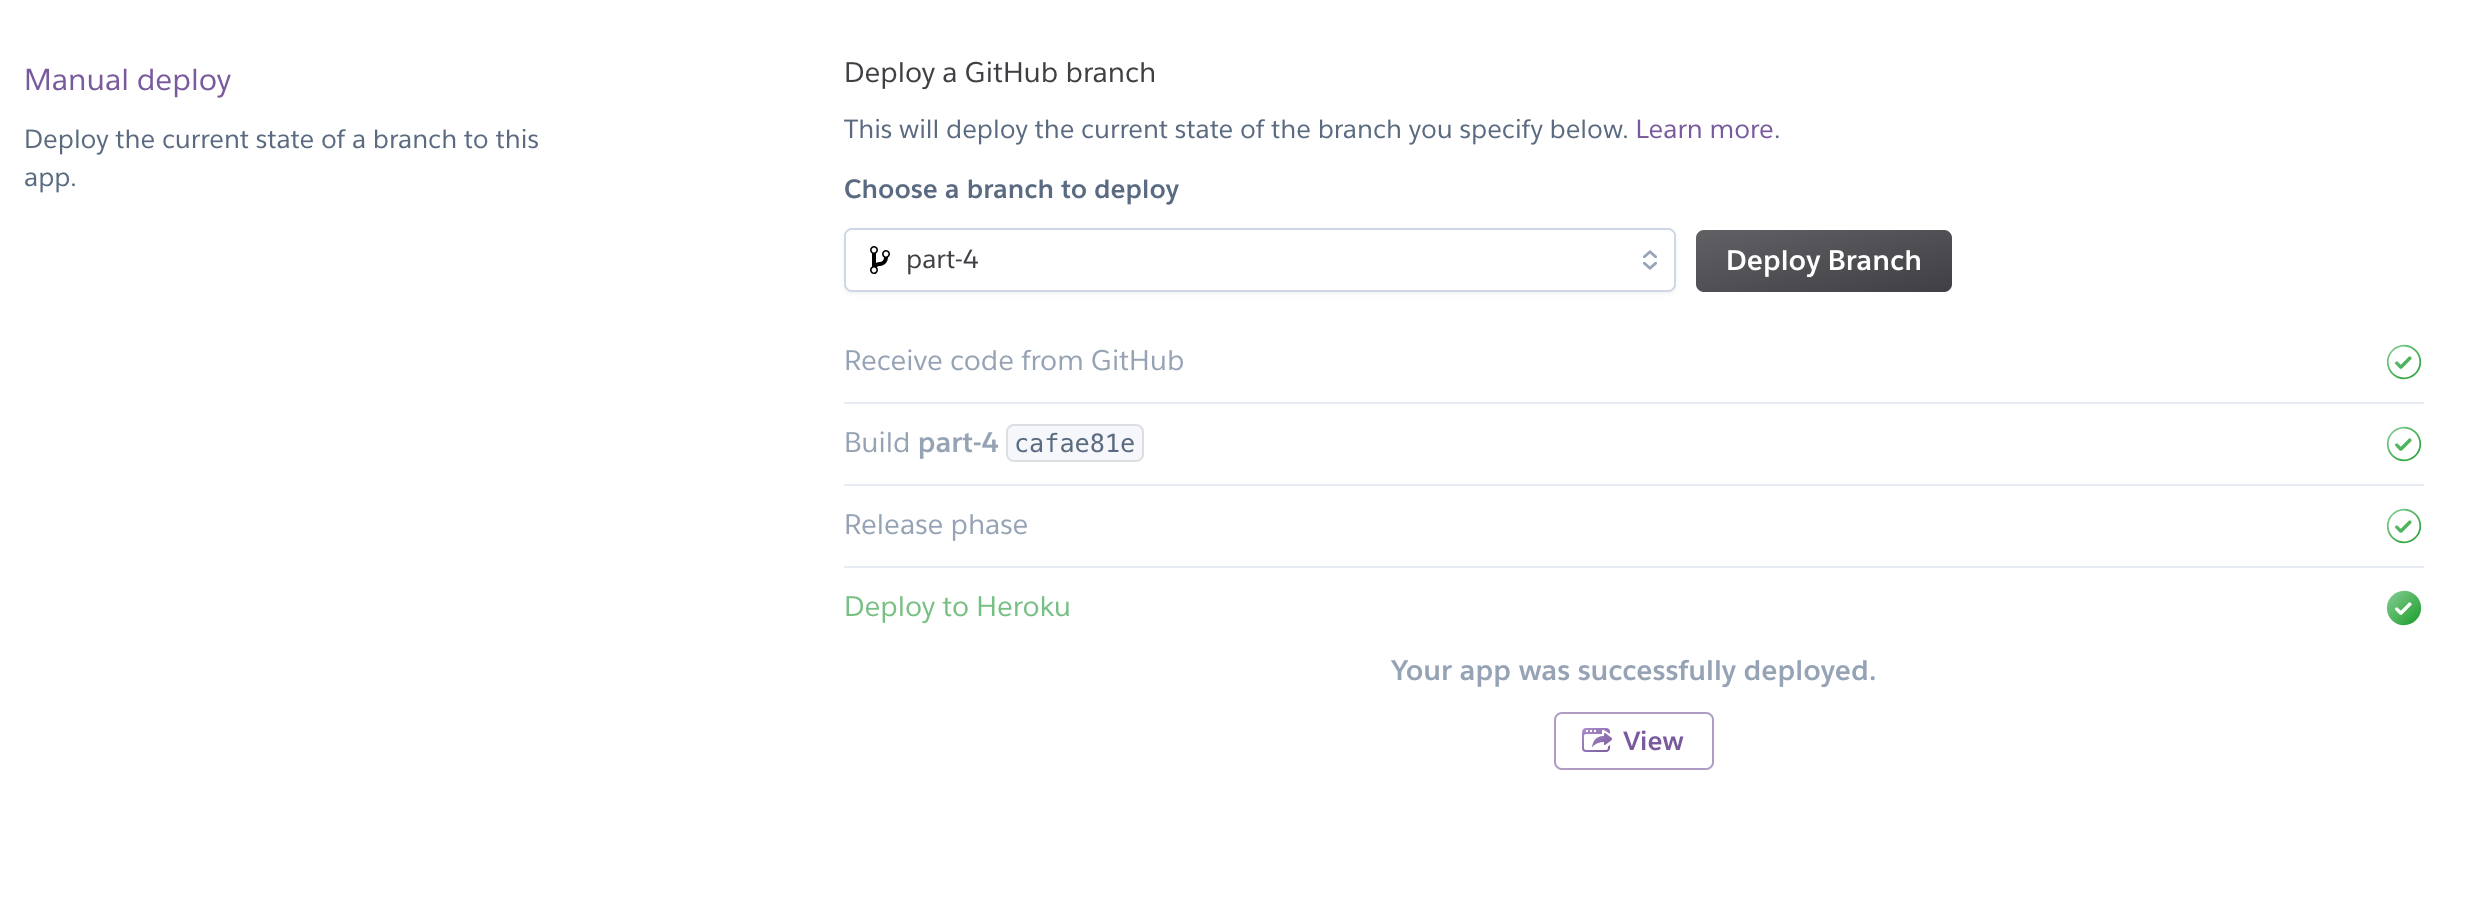
Voila!
You can set-up an automatic deployment too, it’s in the deploy tab.
Head over to : https://koa-graphql-mongodb.herokuapp.com/graphql and you can see our graphQL app open to public.
If you don’t know the url of your app, use the Open app button.

We can query on the heroku server, just like we did locally.
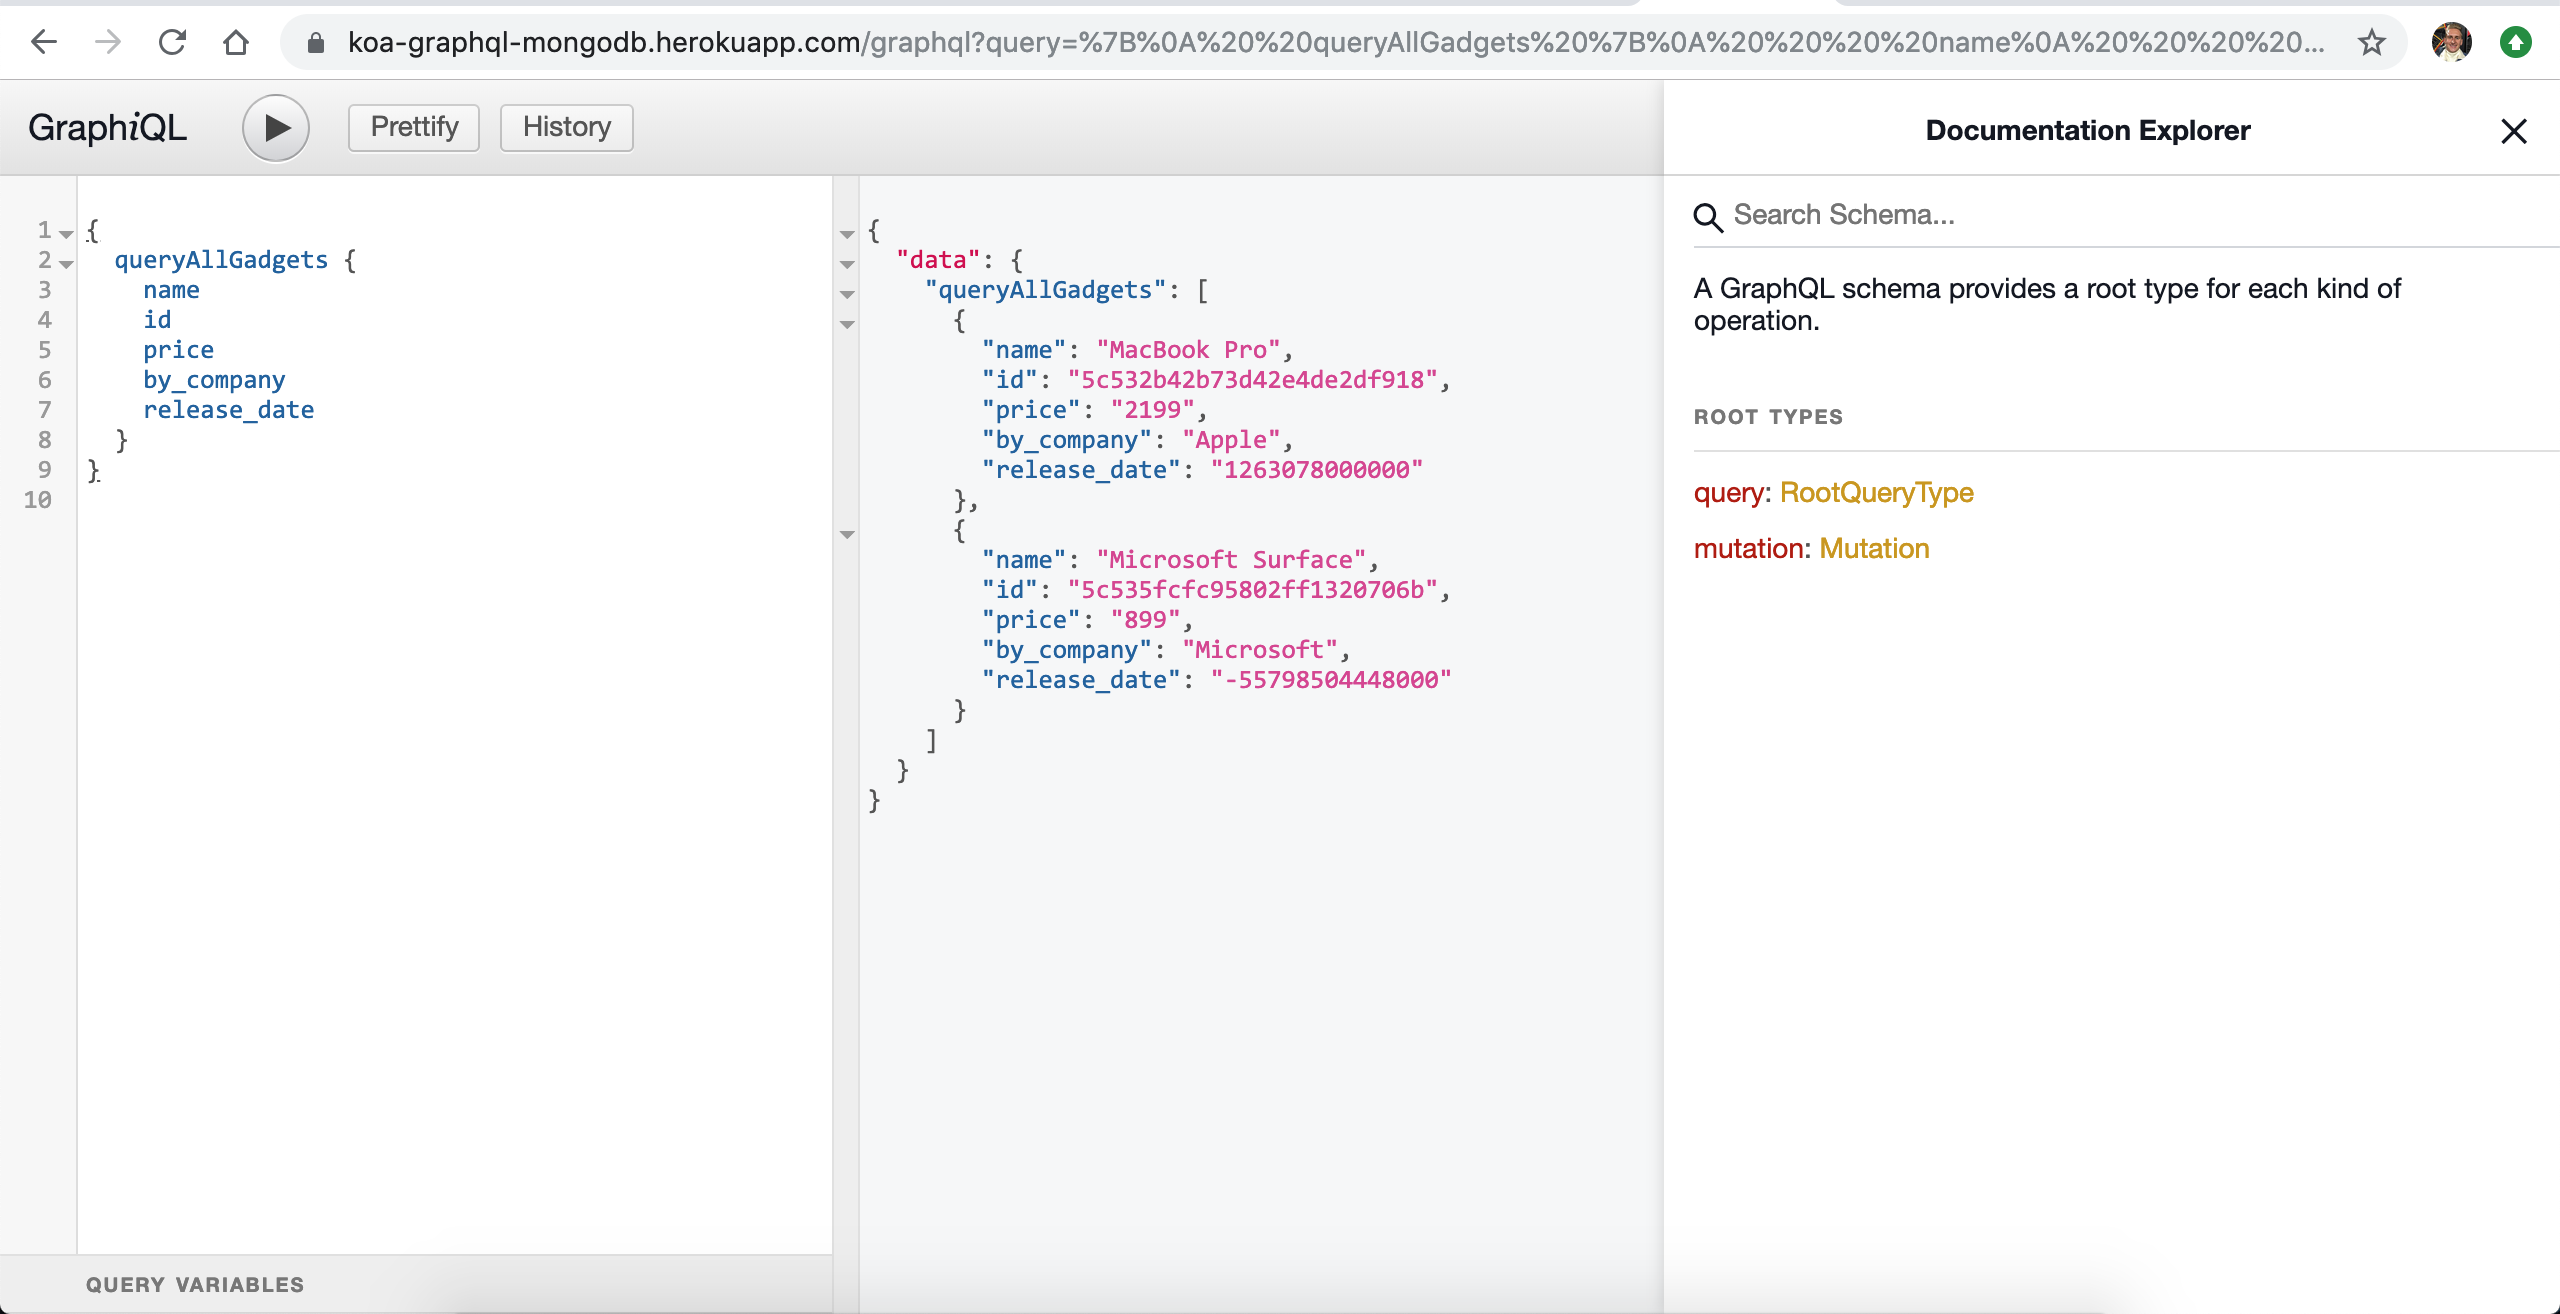
Notice the url is public, anyone can access it.
Securing our app
Our app is not very secure right now. We have hard-coded our mongoDB and there is no way to change it other than code. Ideally we want to have two, if not even three separated databases. One for local development, one for production, and (optional) one for testing.
We can secure our API with dotenv files. If you ever .env files – you’ll feel right at home.
Creat the two following files;
touch .env .env.example
The .env file is for reading values, the .env.example we push to the repository with empty values so other developers can contribute.
.env file;
MONGODB_URI=MONGODB_URI=mongodb://indrek1:indrek1indrek1@ds213615.mlab.com:13615/koa-graphql
Note: Don’t forget to add the .env file to .gitignore!! We do not want to expose this variable to the outside world.
Injecting .env variables to our app
There’s a popular package called dotenv which injects the .env values to our process.env object.
Add the dotenv package.
yarn add dotenv
Place this code in server.js
require('dotenv').config()
And finally inject the .env variable to our database.js
mongoose.connect(process.env.MONGODB_URI, { useNewUrlParser: true });
Voila! If we open our graphiql or insomnia client, all queries should work.
Push the changes to the repository and deploy.
Production database
With this setup, we have 2 databases. One for dev and one for production. No need to change anything, the production database gets automatically inserted by Heroku already.

Head over to the production app and query all gadgets. If everything went alright, the query should return an empty array.
Perfect! Let’s add a gadget.

Head over to the Heroku dashboard, click on the mLab add-on. This should redirect you to our production database. If we inspect the tables and the database name;
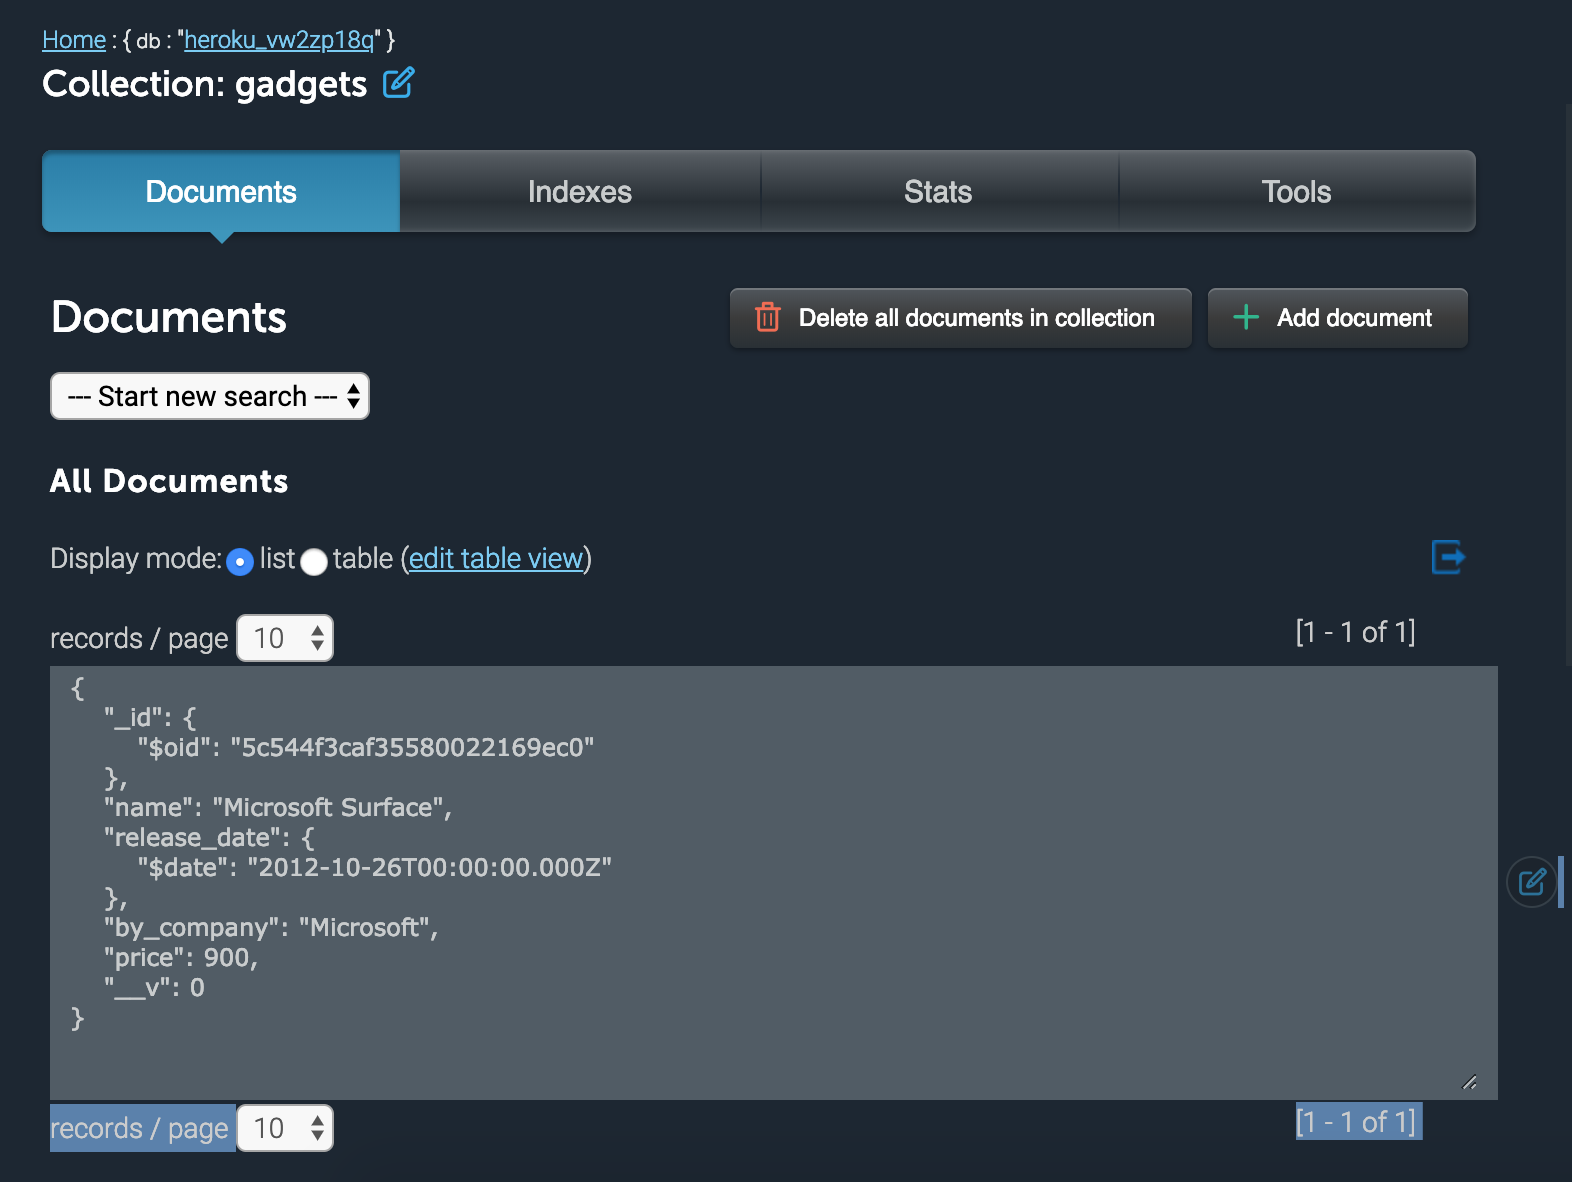
Perfect! We have successfully made our dev and production database. The reason why this is a good practise is we don’t want to fiddle too much with existing records already. Imagine users already have registered, paid for our app, etc. We don’t want to disturb this process. So we use dev for adding new features and experimenting/
Note: If you want to access the GraphQL via the frontend, you’ll need to enable cors. Use this package (@koa/cors)
yarn add @koa/cors
server.js
const cors = require('@koa/cors');

app.use(cors());
Comments
Post a Comment