Execute Commands On Remote Linux Systems Via SSH

on a remote system from your local system itself without having to log in to that remote system, here is how to do it.

Execute Commands On Remote Linux Systems Via SSH

The typical way to run a command or script on a remote system over SSH from the local system is:

$ ssh <username@IP_Address-or-Doman_name> <Command-or-Script>

Allow me to show you some examples.

Run a single command on remote systems via SSH

Let us say you want to find Kernel details of your remote Linux system. To do so, simply, run:

$ ssh sk@192.168.225.22 uname -a

Here,

  • sk is the username of my remote system,
  • 192.168.225.22 is the IP address of the remote system,
  • And “uname -a” is the command that I want to run on the remote system from my local system.

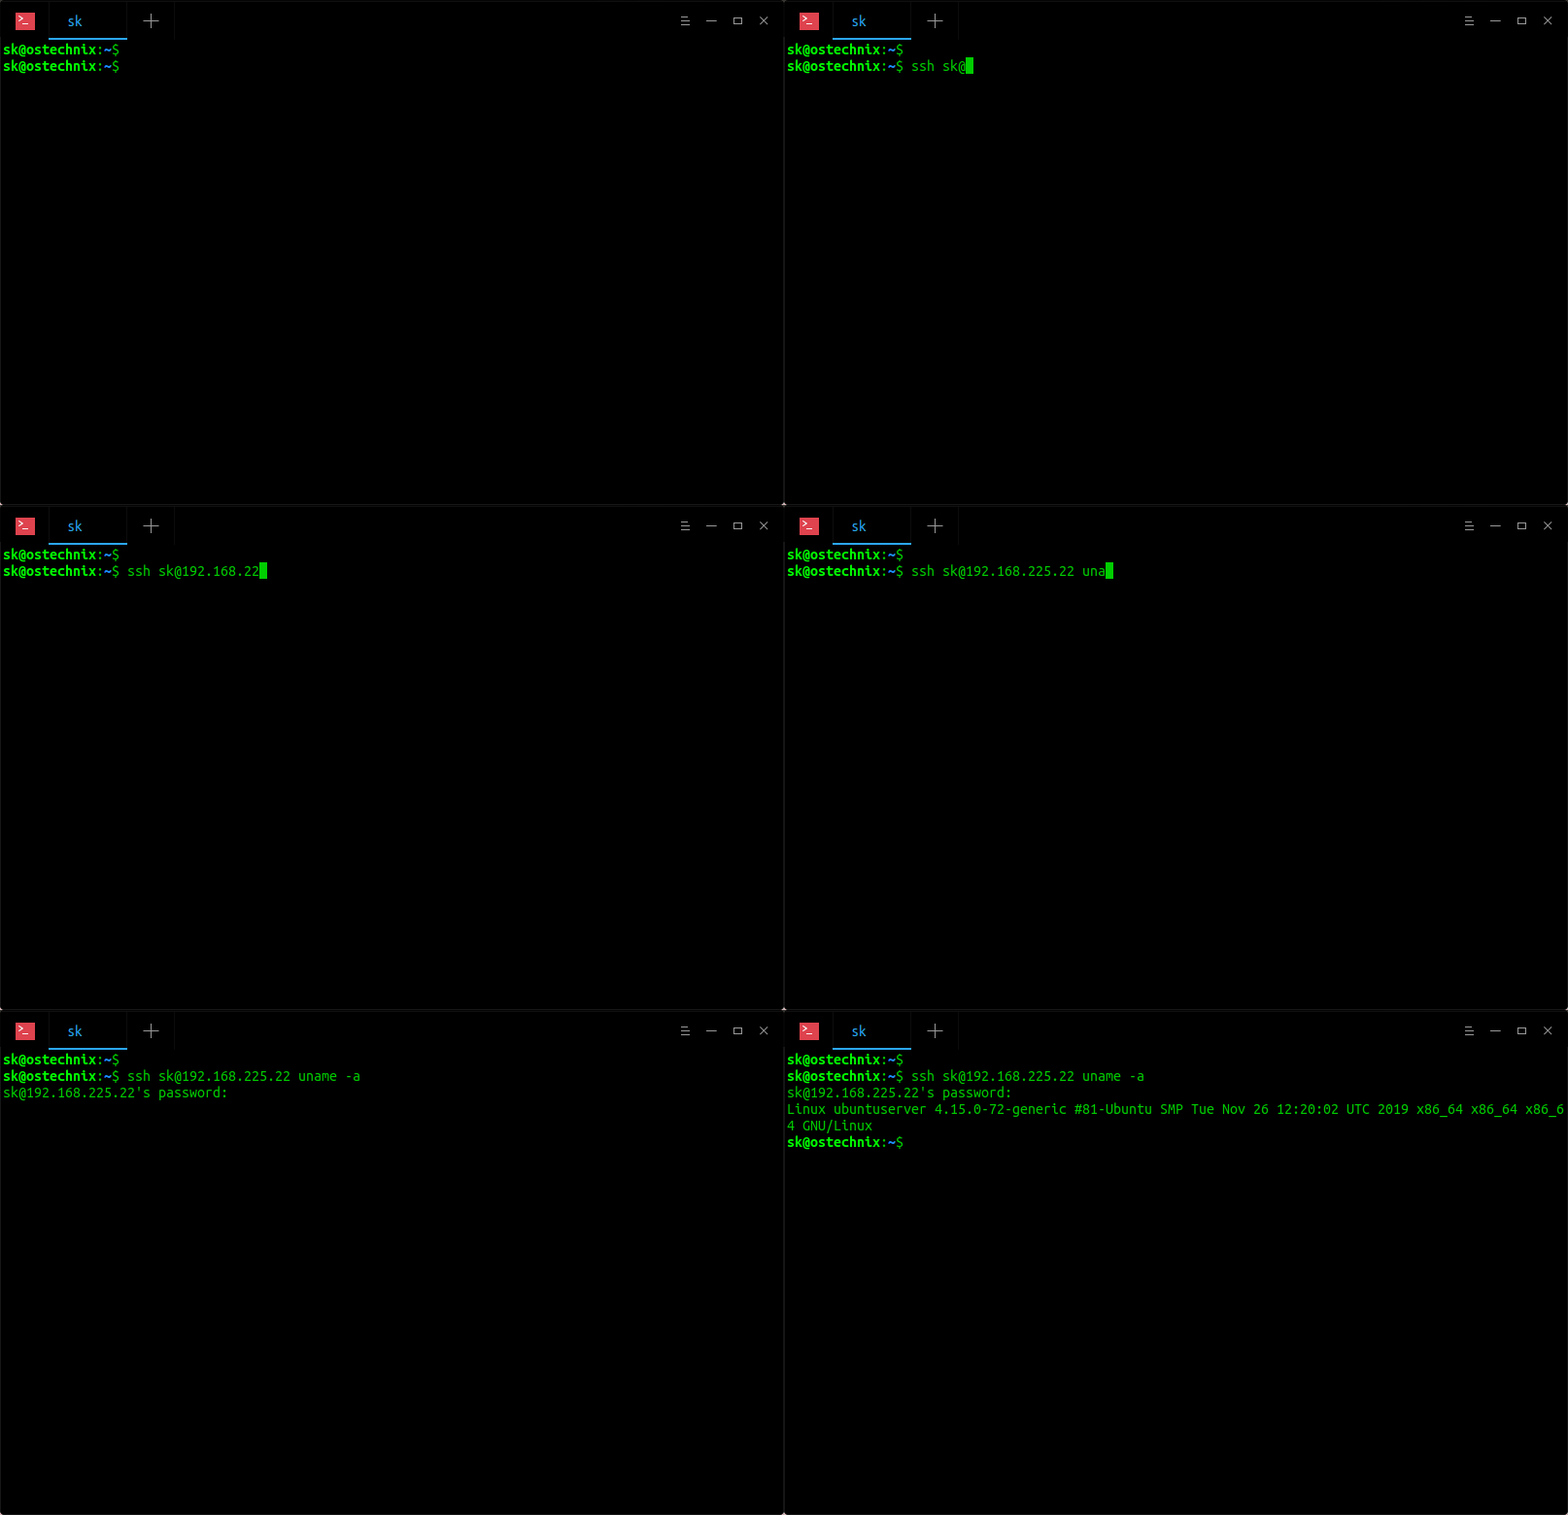
Sample output:

Execute Commands On Remote Linux Systems Via SSH

See? I haven’t actually logged-in to the remote system, but executed the uname command on the remote system over SSH and displayed the output in my local system’s Terminal.

You can also specify the command in quotes like below.

$ ssh sk@192.168.225.22 "uname -a"

Or,

$ ssh sk@192.168.225.22 'uname -a'

If you have changed default port of SSH protocol, just mention it using -p parameter like below.

$ ssh -p 2200 sk@192.168.225.22 uname -a

Run multiple commands on remote systems via SSH

You can also run multiple commands on the remote by specifying them within quotes like below.

$ ssh sk@192.168.225.22 "uname -r && lsb_release -a"

Or,

$ ssh sk@192.168.225.22 "uname -r ; lsb_release -a"

The above commands will display the Kernel version and distribution details of my Ubuntu server.

Sample output:

Run multiple commands on remote systems via SSH on Linux

As one one of our reader mentioned in the comment section below, you should specify multiple commands in quotes. If you don’t use quotes, the first command will execute on the remote system and second command will be evaluated on local machine only. The whole command in quotes will be processed remotely as intended.


Note: Know difference between “&&” and “;” operators between commands:

The “&&” operator executes the second command only if the first command was successful.

Example:

sudo apt-get update && sudo apt-get upgrade

In the above case, the second command (sudo apt-get upgrade) will execute if the first command was successful. Otherwise, it won’t run.

The “;” operator executes the second command even if the first command was successful or fail.

Example:

sudo apt-get update ; sudo apt-get upgrade

In the above case, the second command (sudo apt-get upgrade) will execute even if the first command is failed.


Run commands with “sudo” privileges on remote systems via SSH

Some commands requires “sudo” privileges to run. For instance, the following command will install Vim on my remote system.

$ ssh -t sk@192.168.225.22 sudo apt install apache2

Sample output:

Run commands with "sudo" privileges on remote systems via SSH

Did you notice? I have used -t flag in the above command. We need to mention this -tflag to force pseudo-terminal allocation. This can be used to execute arbitrary screen-based programs on a remote machine, which can be very useful, e.g. when implementing menu services.

Also, I have entered password twice. The first time I entered the password of the remote user to access the remote system over SSH from my local system and the second password is required to give sudo permission to the remote user to install application (i.e. apache2 in this case) on the remote system.

Let us check if the Apache service is running using command:
$ ssh -t sk@192.168.225.22 sudo systemctl status apache2
sk@192.168.225.22's password: 
[sudo] password for sk: 
● apache2.service - The Apache HTTP Server
Loaded: loaded (/lib/systemd/system/apache2.service; enabled; vendor preset: enabled)
Drop-In: /lib/systemd/system/apache2.service.d
└─apache2-systemd.conf
Active: active (running) since Thu 2019-12-19 11:08:03 UTC; 52s ago
Main PID: 5251 (apache2)
Tasks: 55 (limit: 2318)
CGroup: /system.slice/apache2.service
├─5251 /usr/sbin/apache2 -k start
├─5253 /usr/sbin/apache2 -k start
└─5254 /usr/sbin/apache2 -k start

Dec 19 11:08:03 ubuntuserver systemd[1]: Starting The Apache HTTP Server...
Dec 19 11:08:03 ubuntuserver apachectl[5227]: AH00558: apache2: Could not reliably determine the server's fully qualified domain name, using 2409:4072:51f:a1b6:a00:27ff:f
Dec 19 11:08:03 ubuntuserver systemd[1]: Started The Apache HTTP Server.

Similarly, we can run any command or script on a remote system over SSH from the local system.

Run local scripts on remote systems via SSH

Let us a create a simple script on our local system to display all the available information about your remote system’s distribution name, package management and base details etc.

$ vi system_information.sh

Add the following lines:

#!/bin/bash
#Name: Display System Details
#Owner: OSTechNIx
#----------------------------
echo /etc/*_ver* /etc/*-rel*; cat /etc/*_ver* /etc/*-rel*

Press ESC key and type :wq to save and quit the file.


Now run this script on your remote system over SSH using command:

$ ssh sk@192.168.225.22 'bash -s' < system_information.sh

Sample output:

sk@192.168.225.22's password: 
/etc/debian_version /etc/lsb-release /etc/os-release
buster/sid
DISTRIB_ID=Ubuntu
DISTRIB_RELEASE=18.04
DISTRIB_CODENAME=bionic
DISTRIB_DESCRIPTION="Ubuntu 18.04.2 LTS"
NAME="Ubuntu"
VERSION="18.04.2 LTS (Bionic Beaver)"
ID=ubuntu
ID_LIKE=debian
PRETTY_NAME="Ubuntu 18.04.2 LTS"
VERSION_ID="18.04"
HOME_URL="https://www.ubuntu.com/"
SUPPORT_URL="https://help.ubuntu.com/"
BUG_REPORT_URL="https://bugs.launchpad.net/ubuntu/"
PRIVACY_POLICY_URL="https://www.ubuntu.com/legal/terms-and-policies/privacy-policy"
VERSION_CODENAME=bionic
UBUNTU_CODENAME=bionic

If you don’t specify ‘bash -s’ in the above command, you will get the details of the remote system but Pseudo-terminal will not be allocated.

Save output from remote system to the local system

This can be useful if you want to share the output of a command that you run on the remote system over SSH with your support team or colleague.

The following command will run “du -ah” on your remote system over SSH and save the output in diskusage.txt file in your local system.

$ ssh sk@192.168.225.22 du -ah > diskusage.txt

You can then analyze the disk usage details by viewing the diskusage.txt file using catcommand or text viewers.

$ cat diskusage.txt 
4.0K ./.profile
4.0K ./.gnupg/private-keys-v1.d
8.0K ./.gnupg
76K ./data/image.jpg
128K ./data/file.pdf
20K ./data/text.docx
5.9M ./data/audio.mp3
6.1M ./data
0 ./.sudo_as_admin_successful
4.0K ./pacman?inline=false
4.0K ./.bash_logout
4.0K ./.wget-hsts
4.0K ./.bash_history
0 ./.cache/motd.legal-displayed
4.0K ./.cache
4.0K ./deb-pacman_1.0-0.deb
4.0K ./.bashrc
6.2M .

Configure SSH Key-based authentication to avoid password typing

If you run commands on remote systems often, you may want to configure SSH key-based authentication to skip password typing every time. More details can be found in the following link.
Comments

Popular posts from this blog

Understand Angular’s forRoot and forChild

  forRoot   /   forChild   is a pattern for singleton services that most of us know from routing. Routing is actually the main use case for it and as it is not commonly used outside of it, I wouldn’t be surprised if most Angular developers haven’t given it a second thought. However, as the official Angular documentation puts it: “Understanding how  forRoot()  works to make sure a service is a singleton will inform your development at a deeper level.” So let’s go. Providers & Injectors Angular comes with a dependency injection (DI) mechanism. When a component depends on a service, you don’t manually create an instance of the service. You  inject  the service and the dependency injection system takes care of providing an instance. import { Component, OnInit } from '@angular/core'; import { TestService } from 'src/app/services/test.service'; @Component({ selector: 'app-test', templateUrl: './test.component.html', styleUrls: ['./test.compon...

How to use Ngx-Charts in Angular ?

Charts helps us to visualize large amount of data in an easy to understand and interactive way. This helps businesses to grow more by taking important decisions from the data. For example, e-commerce can have charts or reports for product sales, with various categories like product type, year, etc. In angular, we have various charting libraries to create charts.  Ngx-charts  is one of them. Check out the list of  best angular chart libraries .  In this article, we will see data visualization with ngx-charts and how to use ngx-charts in angular application ? We will see, How to install ngx-charts in angular ? Create a vertical bar chart Create a pie chart, advanced pie chart and pie chart grid Introduction ngx-charts  is an open-source and declarative charting framework for angular2+. It is maintained by  Swimlane . It is using Angular to render and animate the SVG elements with all of its binding and speed goodness and uses d3 for the excellent math functio...

How to solve Puppeteer TimeoutError: Navigation timeout of 30000 ms exceeded

During the automation of multiple tasks on my job and personal projects, i decided to move on  Puppeteer  instead of the old school PhantomJS. One of the most usual problems with pages that contain a lot of content, because of the ads, images etc. is the load time, an exception is thrown (specifically the TimeoutError) after a page takes more than 30000ms (30 seconds) to load totally. To solve this problem, you will have 2 options, either to increase this timeout in the configuration or remove it at all. Personally, i prefer to remove the limit as i know that the pages that i work with will end up loading someday. In this article, i'll explain you briefly 2 ways to bypass this limitation. A. Globally on the tab The option that i prefer, as i browse multiple pages in the same tab, is to remove the timeout limit on the tab that i use to browse. For example, to remove the limit you should add: await page . setDefaultNavigationTimeout ( 0 ) ;  COPY SNIPPET The setDefaultNav...