Awhile ago I was a node operator on Storj’s previous decentralized storage network that was meant to compete with the likes of Amazon’s storage services…

Due to <insert Storj’s history> it was no longer profitable and shortly after no longer available to run your own Storj nodes as Storj itself was under going changes. Not saying it’s profitable now, not saying it isn’t. I’m doing this for the pure badassery of it all.
Edit: My memory was hazy — it was always possible to run a V2 node: “we (Storj) did limit the upload of new data and new developer accounts”
Why? To earn STORJ — an ERC-20 utility token hosted on the Ethereum blockchain.
I, myself, am in the middle of setting up my node. Currently waiting for rsync to finish so I can re-purpose my 8TB HDD for Storj.
Onward with the tutorial.
If you don’t have your official invite received in your email, you cannot currently join the network!
I’m going to make this as brief as possible, which assumes you have Networking, Linux, and various other hardware/software skills already obtained. Or you know how to Google…
Things you need:
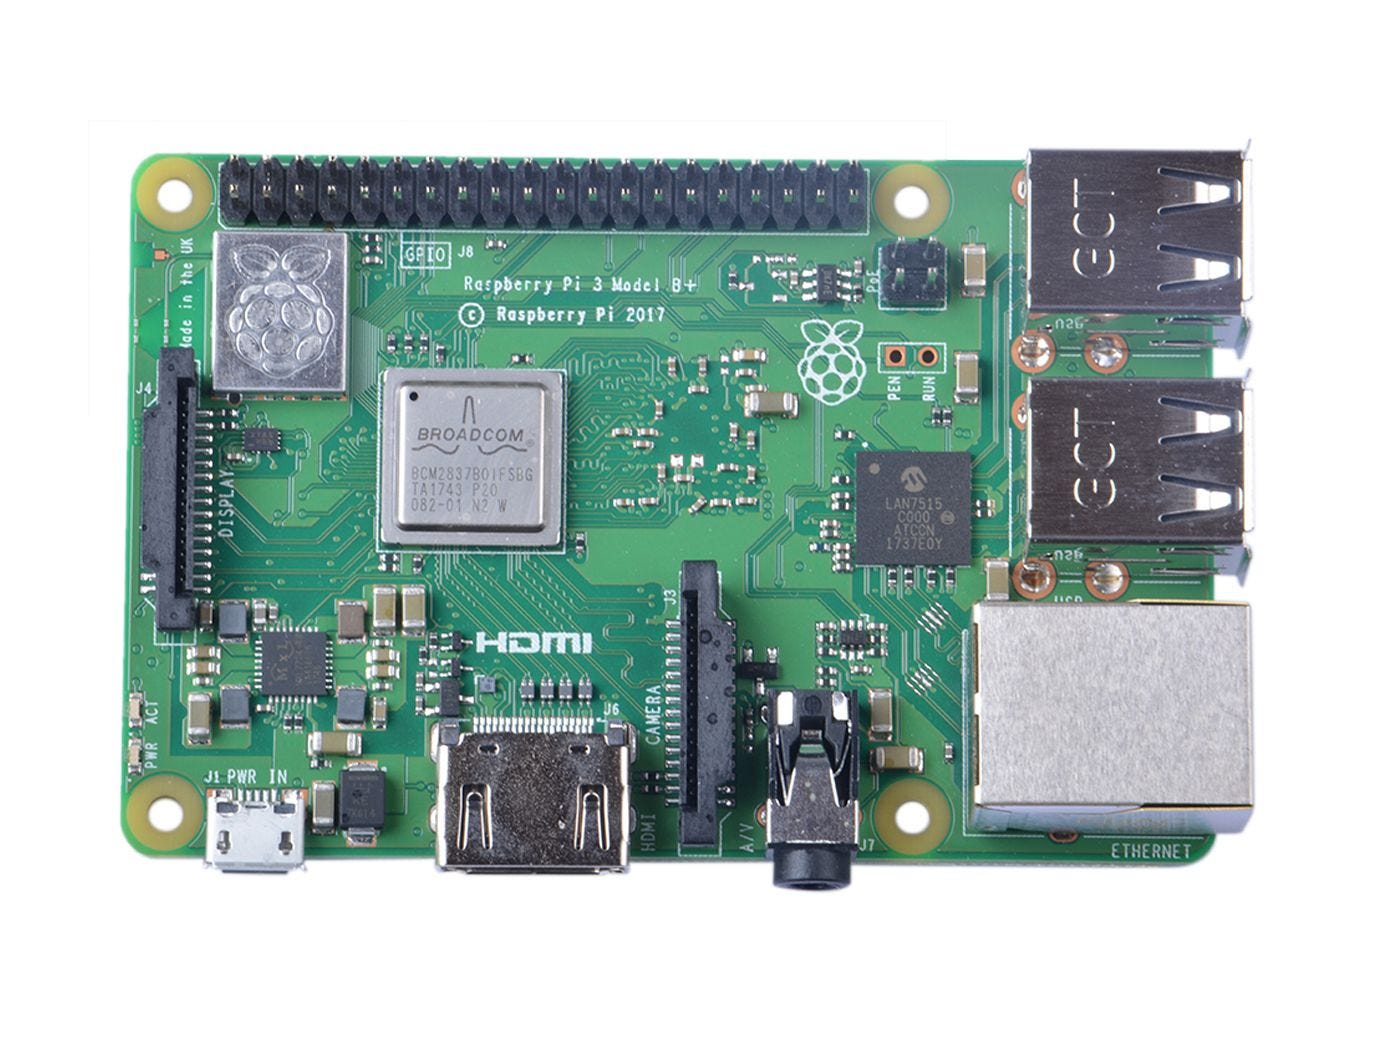
- Raspberry Pi 3 (sd card & power supply)
- 8TB External HDD via USB (min 500GB needed)
- Stable high speed internet (minimums: 25 Mbps down/5 Mbps up, 2TB bandwidth/month)

Pi Setup
You’ll need to enable ssh access to your Pi in one of two ways:
- Drop a
sshfile under thebootpartition
or
- Login as pi:raspberry and run the command
raspi-configUnder Interfaces, enable ssh.sudo rebootto confirm you can ssh into your Pi.
Change your password using passwd
Install ufw
Allow the proper ports & sudo ufw enable to turn on the firewall
sudo ufw allow ssh // SSH port (default 22)
sudo ufw allow 28967 // Default Storj Port
sudo ufw allow 14002 // GUI Dashboard
(If you already turned on the firewall before running the above commands, hit your pi with this command to reload the new rules: sudo ufw reload)
At this point we have a secured (behind your router I’m assuming else you may want to dabble with ssh keys instead of plain-jane passwords) Raspberry Pi 3 Ready for some software.
Don’t forget to setup a static IP for your Pi device on the primary (ethernet > wifi recommended) network. Setup port forwarding to this IP on the port used below: 28967.
Hit your Pi with sudo apt update && sudo apt upgrade
Install Docker
curl -sSL https://get.docker.com | sh
Pull the Storj Image
docker pull storjlabs/sotragenode:beta
Create a script to run docker with proper parameters
nano storjNode.sh
Contents:
docker run -d --restart always -p 28967:28967 -p 14002:14002 \
-e WALLET="0x0000…." \
-e EMAIL="your@email.com" \
-e ADDRESS="externaladdress:28967" \
-e BANDWIDTH="32TB" \
-e STORAGE="7TB" \
--memory=800m \
--log-opt max-size=50m \
--log-opt max-file=10 \
--mount type=bind,source=/home/pi/.local/share/storj/identity/storagenode,destination=/app/identity \
--mount type=bind,source=/mnt/storagenode,destination=/app/config \
--name storagenode storjlabs/storagenode:beta
Hit the file with an executable permission change
sudo chmod +X storjNode.sh
Pause.
At this point we have everything but …
- 8TB HDD connected & configured
- Your Storj Node Identity files on the Pi’s SD card
HDD Setup
Make sure no important files on stored on this drive!
!!! These commands will wipe the drive !!!
Plug in your drive. Leave unmounted.
Make sure this path exists!/mnt/storagenode
mkdir /mnt/storagenode
Find your HDD: sudo fdisk -l
Wipe Partitions:
sudo fdisk /dev/sdX  // enters fdisk utility
p // print out partition(s)
d // delete partition(s), run several times to delete all
n // new partition, (default partition number) enter,
  // (default first sector) enter, (default last sector) enter
w // write changes to disk
// Create ext4 files system
sudo mkfs.ext4 /dev/sdXN  // Ex: /dev/sda1 (sda = device)
                          //               (1 = partition)
// Mount device at boot
// Side Note: it's bad practice to use "/dev/sda1" to mount as these // are "pointers" to the UUID of the partition. A reboot when      // different devices are detected can change which "dev/sdXN" gets // assigned to the UUID. Breaking the configuration.
// List UUIDs
sudo blkid
// Copy the proper UUID listed for your partition.
// Open fstab
sudo nano /etc/fstab
// add this line, save and exit - filling the UUID with the above
UUID=3b5d3076-caa2-4ad2-9ffb-c8e6263b8e06  /mnt/storagenode ext4    defaults,nofail 0 2
sudo mount -a // mount the drive
df -h // display disk free space by Filesystem, size, used, avail,
      // use%, Mounted on
Reboot your device, re-run the last command above for a sanity check!
Bare with me, we are almost there!
Identity Setup
Look back at the storjNode.sh contents.
Near the bottom
/home/pi/.local/share/storj/identity/storagenodeMake sure this path exists!
mkdir --parents ~/.local/share/storj/identity/storagenode
Now lets create that identity!
You want to use a much more powerful computer (your desktop or laptop) as it will reportedly take the Pi device 24 hours to create.
Download the identity binary for your platform:
- Mac OS: identity_darwin_amd64.zip
- Linux: identity_linux_amd64.zip
- Windows 10 Pro: identity_windows_amd64.zip
Assuming Windows, open cm or powershell and run
./identity_windows_amd64.exe create storagenode
These file are located here:
$Env:APPDATA/Storj/Identity/storagenode
Sign your identity with your official invite!
Format: email:key replace the text below with yours
./identity_windows_amd64.exe authorize storagenode user@example.com:ohihioHiohohIOhUyTUfyufVJHvufUyvJHvyFTYdhVJGionOoHibCopy these files (via WinSCP) to the Pi directory we created earlier.
~/.local/share/storj/identity/storagenode
Run it!
sudo ./storjNode.sh
Check status: sudo docker ps
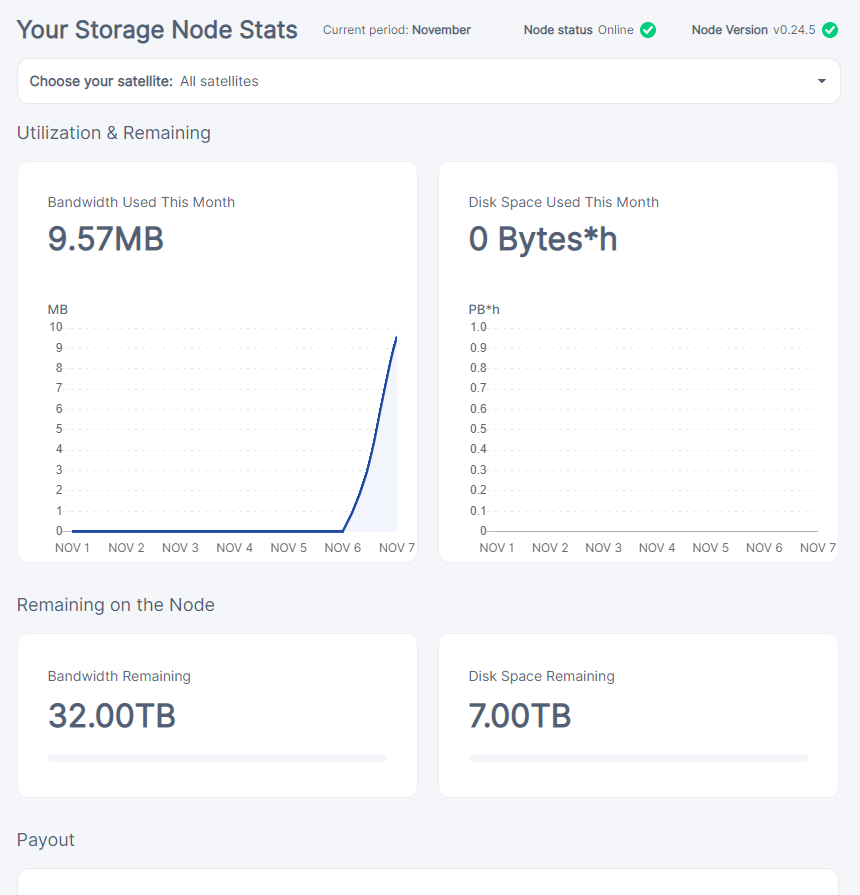
Navigate to the UI screen → IP:14002
#MicDrop

Bonus Tip:
Want your docker image to update automatically?
Hit your Pi terminal with this:
sudo docker run -d --restart=always --name watchtower -v /var/run/docker.sock:/var/run/docker.sock storjlabs/watchtower storagenode watchtower --stop-timeout 300s --interval 21600
Comments
Post a Comment