Are you a developer who has recently started using Git? If you are wondering how to create a good commit message for your project, then this article is made for you.
After a few weeks away from writing, I’m coming back today with a follow-up to one of my most searched posts on Google.
When I started to write, one year ago, I created an article on how to start and create your first repository with Git.
This article helps many people each week. So I decided to write this post on how to write a good commit message so you can take your Git skills to the next level.
What is a good commit message?
As a short reminder, a commit message is the short text you left when you saved your work on Git. This message aims to identify your work.
The idea is that just bu reading it, anyone will be able to clearly understand what you did in this part of your work.
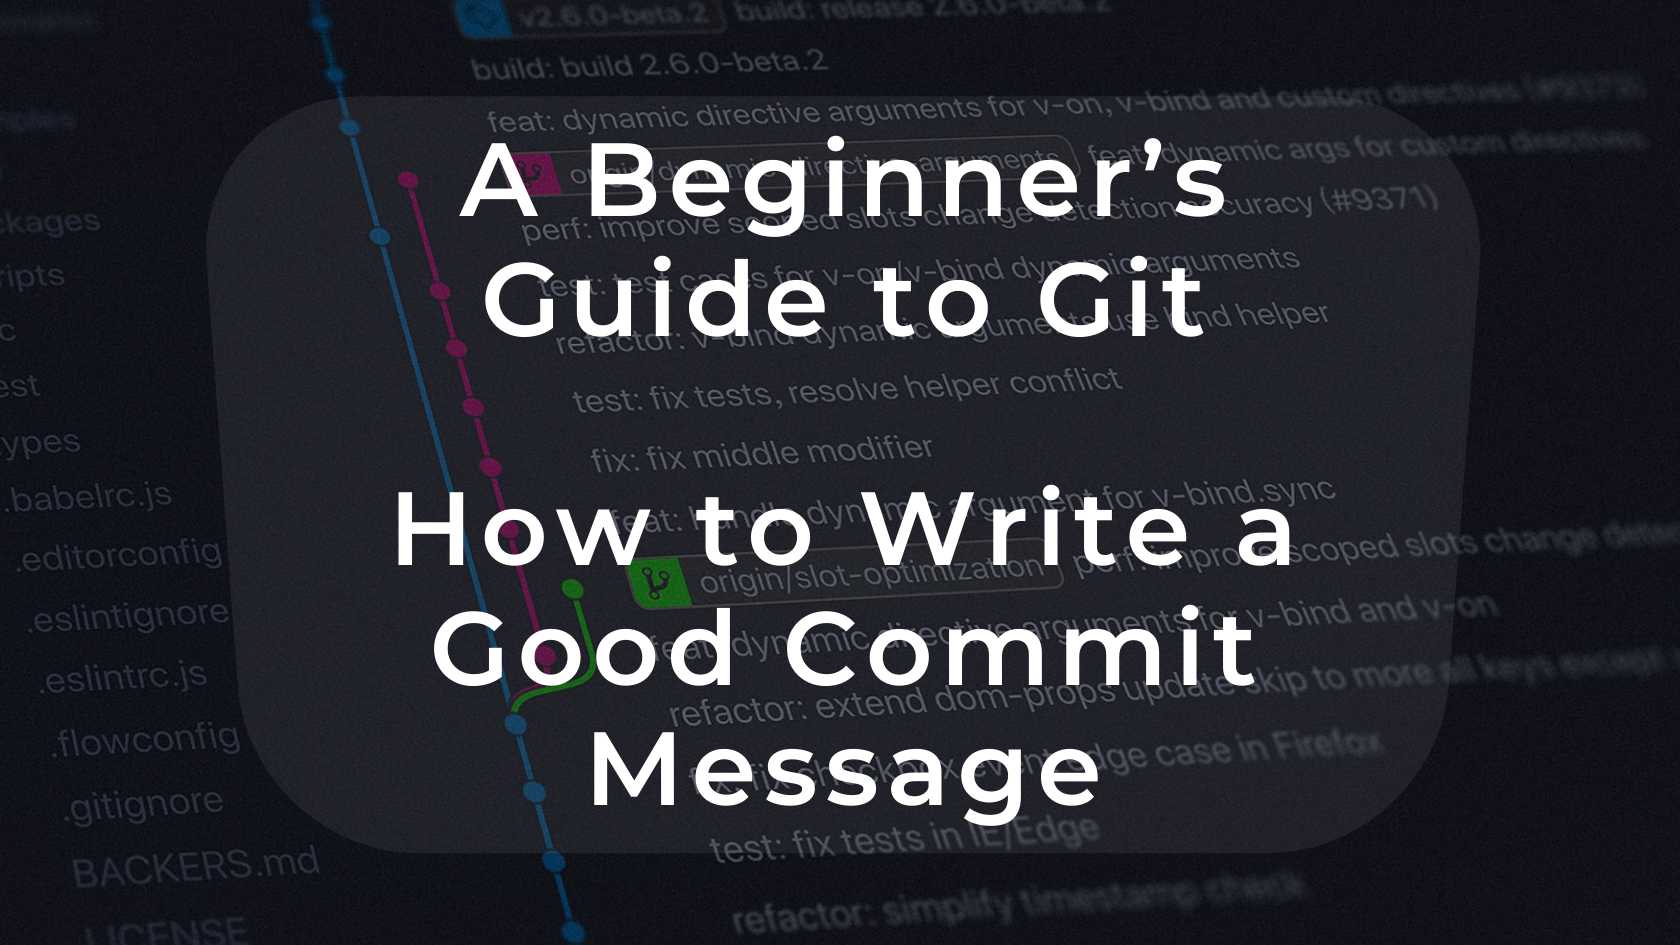
A good commit example
Below, you can find the last commits to the Angular.js project on GitHub. As you can see, messages are clear, and we can better understand which work has been done in different parts.
For example, on July 24, 2019, “gkalpak” upgraded “SauceConnect” and switched to the last version of Safari (the web browser).

Why is everyone not committing the same way?
Unfortunately, there's not a universal way to write commits. Each project and each company define specific rules for their needs.
But don’t worry – you will often find similar ways of writing a message.
To find out what those are, I highly recommend that you read the rules before starting at a company or working on an open-source project.
I will give you more details on these guidelines later in this article.
Why it is essential to write your commit well
I created a short list of the advantages of using a good commit message.
Better collaboration
If you are working at a company, or on an open-source project, it’s essential to follow the rules for better cooperation. If you write something understandable, following the rules of the project, other developers will be able to work more efficiently. They won't have to ask you questions about your work.
Note: If you are working on a personal project, I highly recommend that you also follow specific rules. It will improve your productivity, and if you need help from another developer, it will be easier for them to start working on your project.
Better understanding
You need to create clear and understandable messages. This will help you and your collaborator work on a project together. Below, you can find an example of a git commit history with only unclear messages. As you will see, it’s difficult to understand what was going on.
BONUS - A changelog generation
I’ll tell you a small secret: if you write good messages, you will be able to generate a changelog directly from your commit messages.
Here are a few tools to do it:
I'll write an upcoming article on this topic, too. If you want to be updated, you can follow me on Twitter. I post every update there.

Note: If you want to have more example of bad commits and have fun at the same time, a Twitter account named "gitlost" is tweeting every day with the funny and unfiltered commits.

Ok now let's get into more detail and look at what it really takes to write a good commit message.
How to write a commit message
If you want to write a good commit message, you need to follow some rules. I created a checklist below. Every time you want to commit, take the time to refer to this list.
- Always check your grammar. It's never pleasant to read a message full of errors. To do this, I recommend you to use a grammar tool. If you are writing in English, you can use Grammarly, Reverso, or GrammarCheck. These tools are not perfect, but they will remove most of your errors.
- One commit, one change. Try to commit often. It is ideal to have each change in a different commit. It will be easier for you to go back to your previous work.
- Be clear. When you are writing a commit, try to be as transparent as possible. I recommend that you use simple English and get straight to the point.
- Detail what you did. Take the time to reread your code to write what you did. In case you need to add a lot of detail, use the description part of the commit.
The git commit command
I want to share more details on the 'git commit' command. If you are not using a git software, you should know that you can create detailed commits by typing this command:
$ git commit -m "Title" -m "Description"
It's the same as before, but with a second part for the description. So, "-m 'title' " lets you write the short title of the commit, and "-m 'description' " lets you write the description if you need to give more details.
Use git guidelines
If you want to have a clear git commit history, you should follow some guidelines. In my case, I chose this simple one from Udacity.
There are a lot of others, like Conventional Commits, and Angular Guideline. A commit guideline will help you give structure to your commits.
For example, adding a tag to clarify what you did: "git commit -m 'fix: correctly delete all user information when the button delete account is triggered'".
Conclusion
I hope that you liked this guide on how to commit to Git! If you have any questions or feedback, feel free to ask.
Comments
Post a Comment